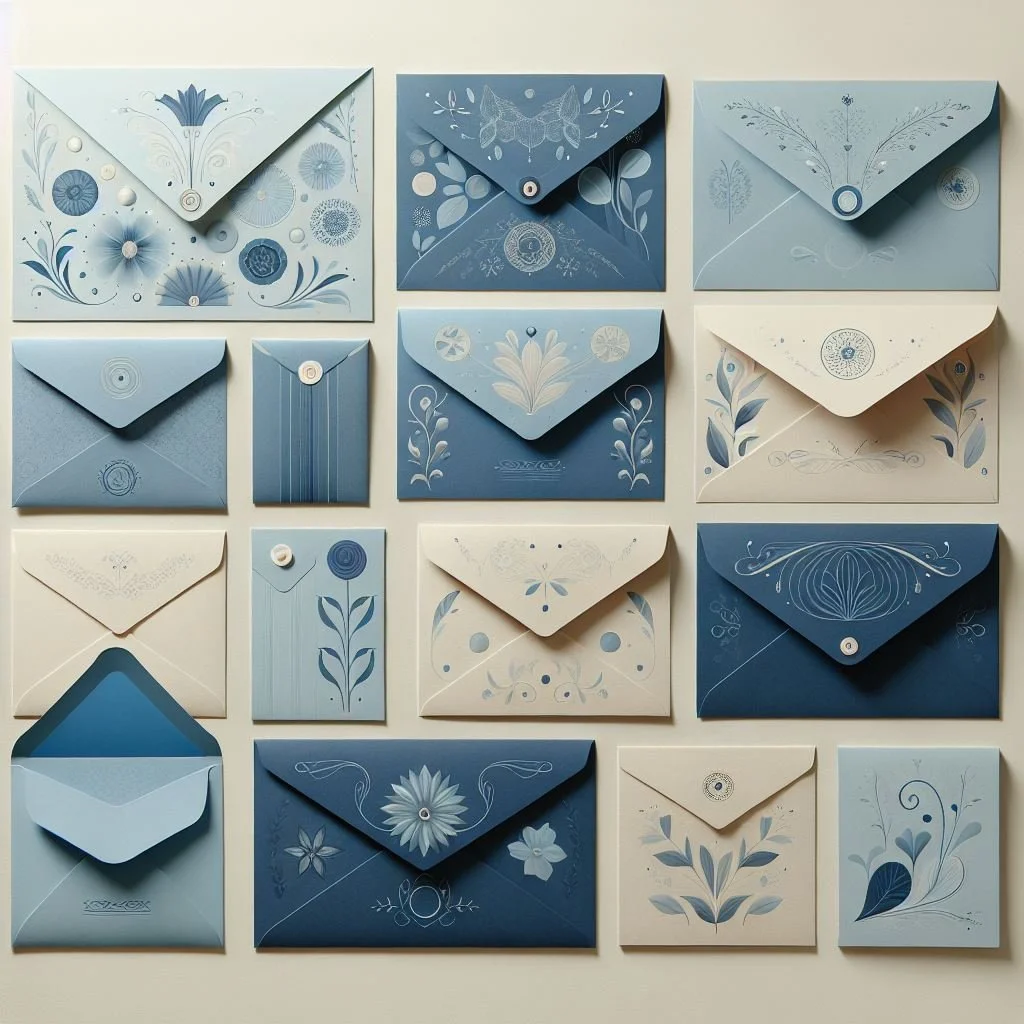
Craft Stunning Mail with Envelope Templates & Address Guides
If you love sending beautiful, personalized mail, then envelope templates and address guides are about to become your new best friends. These tools can help you create stunning mail art that will wow your recipients. Let’s dive into how you can use them to elevate your mail art game.
Why Use Envelope Templates and Address Guides?
Envelope templates and address guides are essential tools for anyone looking to create one-of-a-kind mail art. They help ensure that your envelopes are perfectly shaped and that your addresses are neatly aligned, making your mail art not only beautiful but also functional.
Types of Envelope Templates
There are several types of envelope templates you can use, each with its own benefits:
Printable Templates: These are digital files that you can print out and use as a guide. They come in various sizes and designs, perfect for any occasion.
Plastic Templates: Durable and reusable, plastic templates are great for frequent crafters. They help you trace and cut out envelopes with precision.
Adjustable Templates: These templates can be adjusted to create different sizes of envelopes, offering flexibility for various projects.
Types of Address Guides
Address guides help you write addresses neatly and consistently. Here are a few types you might find useful:
Ruler Guides: Simple and effective, these guides help you draw straight lines for writing addresses.
Stencil Guides: These come with pre-cut address lines and spaces, making it easy to write addresses in a straight line. I recently replaced my old set with this one from Amazon.
Printable Guides: Digital files that you can print and place under your envelope to guide your writing.
Materials You’ll Need
Paper: Choose from patterned paper, cardstock, or even recycled materials.
Scissors or a Craft Knife: For cutting out your envelope shapes.
Ruler: To ensure straight lines and precise measurements.
Bone Folder: For creating crisp folds.
Adhesive: A tape runner or glue stick works well for assembling your envelopes.
Pens and Markers: For addressing and decorating your envelopes.
Step-by-Step Guide to Using Envelope Templates
Choose Your Template: Select a template that suits your project. Printable templates are great for beginners, while plastic templates offer durability for repeated use.
Print and Cut: If using a printable template, print it out on sturdy paper. Linen cardstock looks wonderful, comes in lots of colors and is sturdy enough to handle just about anything.
Trace and Cut: For plastic templates, place the template on your chosen paper, trace around it, and cut out the shape. Paper Source has a set that includes to most sizes I’ve ever found.
Score and Fold: Use a bone folder to score along the fold lines. This helps create crisp, clean folds.
Assemble: Apply adhesive to the flaps and assemble your envelope. Double sided tape is stronger than other options. Be careful with liquid glue because it may wrinkle the paper.
Creative Tips for Mail Art
Seasonal Themes: Create envelopes with seasonal designs for holidays and special occasions. Think snowflakes for winter or flowers for spring.
Personalized Touches: Add custom elements like monograms, stickers, or hand-drawn designs to make your envelopes truly unique.
Recycled Materials: Use old maps, book pages, or magazine covers to create eco-friendly envelopes with a story.
Layering and Collage: Use different papers and textures to create layered, collage-style envelopes that are visually interesting.
Using envelope templates and address guides can take your mail art to the next level. These tools help you create beautiful envelopes that are sure to delight your recipients.


