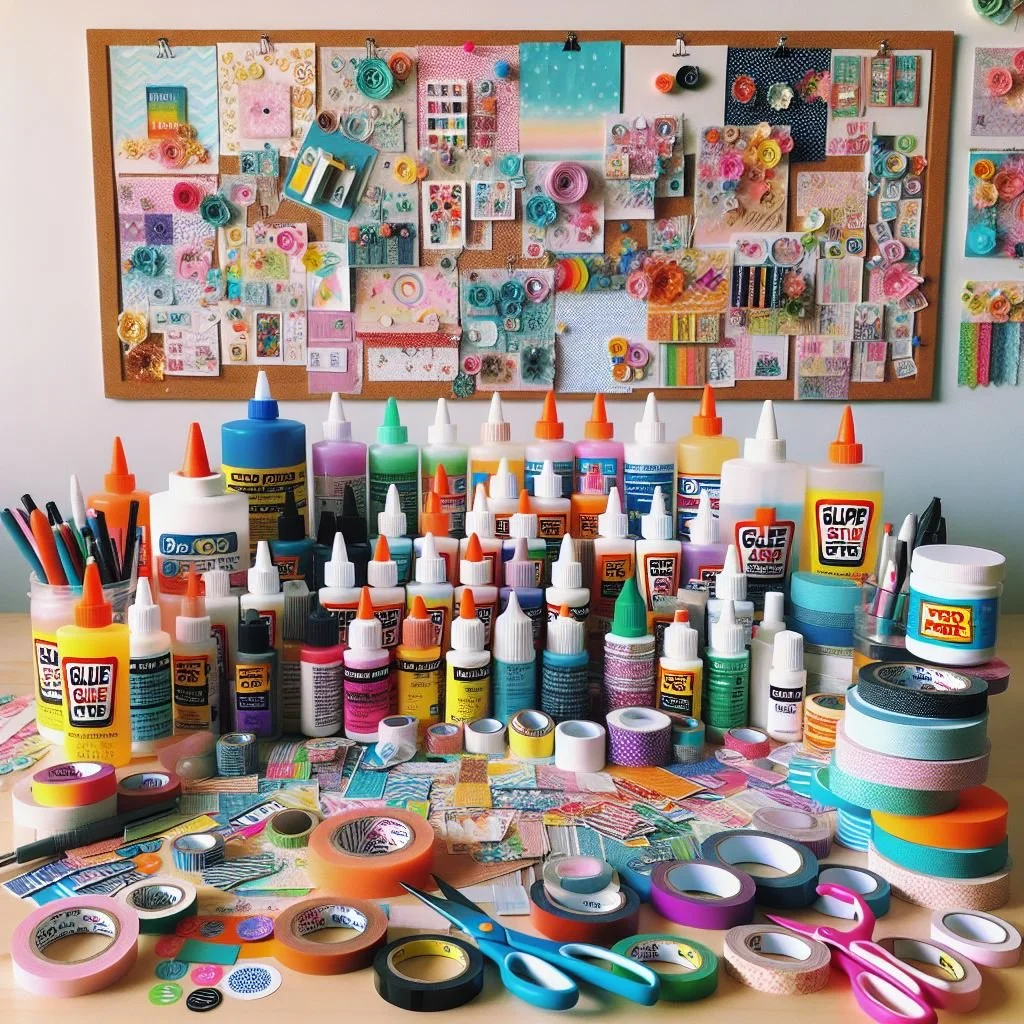
Stick It to 'Em: The Best Adhesives for Mail Art
Hey there, crafty friend! Ready to dive into the sticky world of adhesives for your mail art projects? Whether you’re sending a decorated envelope, a handmade postcard, or a mixed-media masterpiece, the right adhesive can make all the difference. Let’s chat about which ones are best for your creative endeavors.
1. Glue Sticks
Glue sticks are like the trusty sidekick you always need. They’re easy to use, mess-free, and perfect for sticking lightweight materials like paper and cardstock. Pro tip: go for acid-free glue sticks to keep your artwork looking fresh. But beware of the cheap ones—they dry out faster than you can say “snail mail” and lose their hold in humid conditions. And let’s be real, they’re not the best for international postal travel. Stick to using them for simple, domestic projects.
2. Double-Sided Tape
Double-sided tape is my adhesive BFF for mail art. I started with the classic Scotch brand tape, then flirted with tape runners (ugh, they clogged and couldn’t hold my mixed media projects). Now, I’m all about red-line tape—it’s super sticky, stays flexible, and comes in multiple sizes, including full 8x11 sheets. Perfect for photos, paper cutouts, and other flat elements. Plus, it’s versatile enough for all your crafty needs.
3. Liquid Glue
Liquid glue, like PVA or tacky glue, is the heavyweight champ for sticking heavier materials. It’s great for buttons, beads, and fabric. But watch out for the drying time and potential paper wrinkles. Personally, I’m not a fan—liquid glue can soak through vintage paper, bleed through old photos, and doesn’t dry well in humidity. For bulky embellishments, I occasionally use Diamond Glaze by Judikins, but it’s been ages since I bought a bottle. Who knows if it’s still around?
4. Glue Dots
Glue dots are tiny adhesive heroes, perfect for sticking small items like sequins, gems, and other tiny embellishments. They provide an instant bond and are super easy to use. They’re great for adding dimension but best used when your mail art is in an envelope or protective sleeve. These dots are so strong that if an embellishment gets caught in a sorting machine, it’ll rip the card instead of pulling off. Not cute.
5. Washi Tape
Washi tape is the stylish adhesive that’s both decorative and functional. It comes in a rainbow of colors and patterns, adding a creative touch to your mail art. While it’s not the strongest for heavy items, it’s perfect for securing lightweight elements and adding flair. But here’s the tea: if you don’t reinforce it with double-sided tape, it’ll arrive with edges pulling up or dangling off the card. No one wants that.
6. Spray Adhesive
For larger projects or delicate materials like tissue paper, spray adhesive is a lifesaver. It provides an even coat of adhesive and covers large areas quickly. Just make sure to use it in a well-ventilated area and protect your workspace from overspray. I use a large Amazon box to contain the adhesive when spraying outside—keeps things neat and tidy.
7. Mod Podge
Mod Podge is the versatile adhesive that also acts as a sealant. It’s perfect for collage work, adhering various materials, and providing a protective finish. Use it to create layered, textured pieces that are both durable and visually appealing. I’ve been using Mod Podge since I was a kid, and I love the variety of finishes available now. The matte version is great for art journals and book art because it doesn’t dry tacky. If it does, just spray your project with a fixative.
8. Xyrons
Oh, Xyrons, how could I forget you? These are the MVPs of my craft room. I have every shape and size available, and they’re the most-used tools in my arsenal. The refills might be pricey, but when you need consistent coverage across an item and want a dry adhesive option, a Xyron should be your go-to. The new disposable ones are fantastic for travel—compact, great dry coverage, and you can just toss them when they run out. Perfect for when you’re on the go and need reliable adhesive. I will write a post specifically about xyrons for the newbies in the back of the room.
Tips for Choosing the Right Adhesive
Consider the Material: Match the adhesive to the materials you’re working with. Lightweight papers need different adhesives than heavier embellishments.
Test First: Always test your adhesive on a small area before committing to your project. This helps avoid any unwanted reactions or damage.
Think About Durability: If your mail art will be handled frequently or exposed to the elements, choose a strong, durable adhesive to ensure it stays intact.
Choosing the right adhesive is crucial for creating beautiful and lasting mail art. By understanding the strengths and limitations of each type, you can select the best one for your project and let your creativity shine. Happy crafting!
